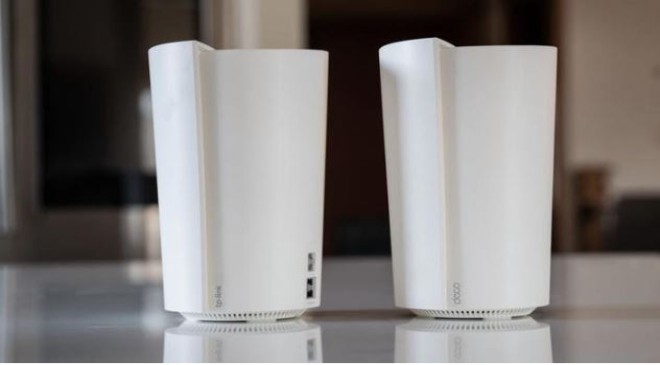
I’ve spent the past couple of years at CNET testing and reviewing Wi-Fi routers, and if there’s one thing I’ve learned, it’s this: In most homes, the most meaningful way to improve the Wi-Fi connection is to upgrade to a mesh router.
The reasoning here is pretty simple. Traditional routers put out a Wi-Fi signal from a single point in your home, but mesh routers use multiple devices to put out a usable signal from multiple points in your home. That makes them more like a team of routers that work together to relay your traffic back to the modem. It’s a much better approach to home networking, particularly in large, multi-story homes, where a traditional, single-point router will likely leave you with dead zones in the rooms that are farthest away. They can even make a significant difference in smaller-sized homes, especially if you have any dead zone rooms where speeds aren’t as fast as you’d like.
Most mesh routers are pretty simple to get started with: Just connect one device to your modem with an Ethernet cable, plug it in and then follow the instructions in the system’s app. From there, you’ll need to pick spots for the remaining satellite extenders, which are also sometimes called nodes (or “Points” if you’re a Nest Wifi user). Still, you’ll want to put some thought into where you place the things, as their specific location will make a significant impact on the system’s performance. Here are some guidelines to keep in mind as you go. (You can also check out our tips on the best location for your Wi-Fi router, and how to protect your home Wi-Fi network from hackers.)Best Mesh Routers for 2022: See at Cnet

The best spot for your mesh router
Like with most wireless transmissions, it doesn’t take much to disrupt your Wi-Fi signal and slow it down. That’s why it’s important to place your mesh extenders strategically, in locations where they’ll be able to perform at their best.
Move that main router

First things first, you’ll want the main router in your setup — the mesh device that’s wired to your modem — to be located as centrally in your home as possible. That’s the same approach you’d take with a single router, and the reasoning is the same: Routers put out Wi-Fi signals in all directions, so placing your router in a central location within your home will make the most out of your connection.
That goes double for mesh systems, where the strength of the connection near your extenders will largely depend on the strength of the incoming signal from the main router. A stronger connection between the two will help ensure that you’re hitting the fastest Wi-Fi speeds possible throughout your entire home.
Your options for moving the router might seem limited by the location of your modem, and the incoming wiring for your home’s internet connection. An extra-long Ethernet cable can come in handy here, giving you the freedom to move the router away from where the modem sits, if necessary. If that’s impractical, you’ll at least want to move that main router out into the open, and preferably as high off the ground as possible.
Experiment with those extenders
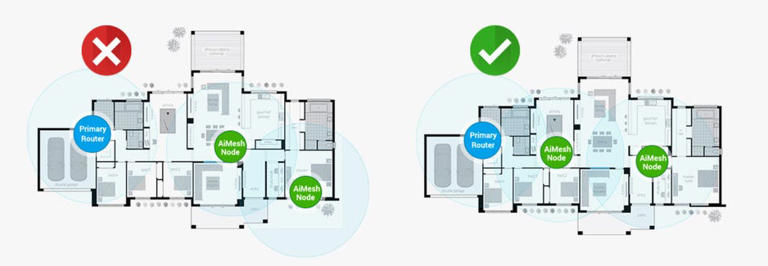
Once you’ve got the main router situated in the best spot possible, you’ll want to pick out good spots for the extenders. With most systems, you can connect each device to the main router with an Ethernet cable for the fastest speeds possible, but most users prefer to connect everything wirelessly. In that case, you’ll want to be extra-strategic about where you place the extenders throughout your home.
Again, out in the open and up off of the ground is your best bet for a clear signal, but you’ll also want to put some thought into the layout of your home, as physical obstructions in between the main router and the extenders can slow things down.
A good rule of thumb, generally speaking, is to try and keep the devices in your mesh setup no more than two rooms away from each other. That’ll vary from home to home, especially if yours is built with dense materials like brick or concrete in the walls that can be difficult for Wi-Fi signals to penetrate. You’ll also want to watch out for electronic interference from TVs and other large appliances, so if you’re sticking a mesh extender in the kitchen, resist the urge to hide it away on top of the fridge and move it away from your appliances altogether.
Furniture can block Wi-Fi signals, too, so if you have anything large or bulky in between two of your mesh devices, consider relocating them. Aquariums are another classic antagonist for your mesh setup, as Wi-Fi has a hard time transmitting through water.
The best way to ensure that your mesh network is as well-connected as possible is to open its app and check the signal strength of each device, which is something most systems offer. You can also find system-specific guidance online at the links below:
- AmpliFi
- Arris
- Asus
- D-Link
- Eero
- Linksys
- Nest Wifi
- Netgear
- TP-Link
Don’t aim for the dead zones
If you’ve got a back corner of your home where the signal drops out, it might be tempting to stick a mesh extender smack in the middle of that dead zone to boost your speeds. In a lot of cases, that’d be a mistake.
Remember, just like your phone or laptop, your mesh extenders need to connect wirelessly with the main router in your setup. And if that back corner is a dead zone for your phone or laptop, then it’ll likely be a dead zone for your mesh extender, too.
The better approach is to place that extender adjacent to the dead zone in a spot where it’ll have an easier time connecting with the main router. In some cases, that might be halfway between the dead zone and the main router, but you might need to experiment a bit. Hit the sweet spot, and the Wi-Fi signal it puts out should be a healthy one, and one that’ll extend into the dead zone to bring it back to life.
Speed tests are your friend
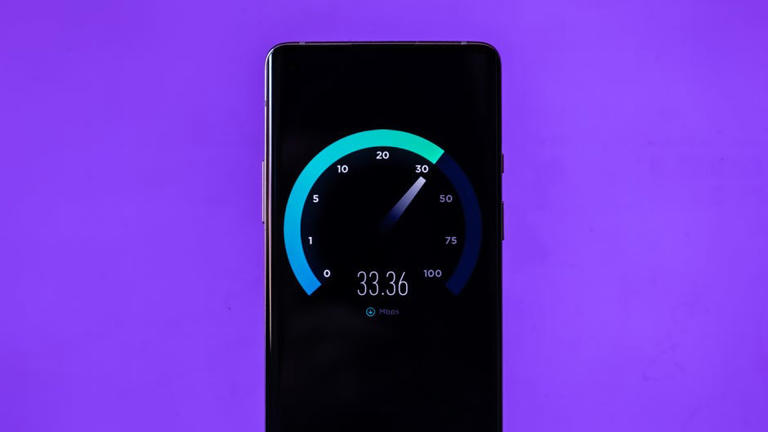
Apart from the diagnostic tools in your mesh router’s app, the fastest way to check on your system’s performance is to run some speed tests. There are plenty of free services online that we recommend, any of which will tell you the upload and download speeds on whatever device you’re using in a minute or less.
For the best intel, grab your laptop or phone and run multiple speed tests in each room of your house where you need a usable Wi-Fi signal. In the end, you should have a good ballpark sense of where speeds are the steadiest and where they dip. From there, you could try moving your extenders to try and balance things out, or you could consider buying an additional extender to fill in any gaps. Either way, your home should be all set with a strong signal wherever you need it.
Other things to consider for your mesh router
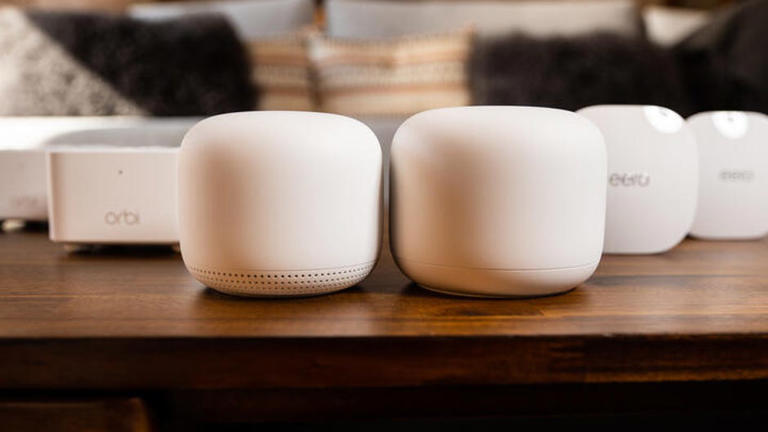
Just remember that your mesh router can only offer speeds that are as fast as what you’re paying for from your ISP. If speeds are widely insufficient in your home, then it might be time to consider upgrading to a faster plan (and it might be worth seeing if your ISP will let you try a faster plan for a few days to see if that is, indeed, the problem). Your ISP might also be able to provide you with an updated modem that’ll bring better, faster speeds to your mesh system to begin with. Can’t hurt to ask.
If speeds still seem slower than you’d like, and your ISP isn’t the answer, then there are a few other things you can try. For starters, if your provider’s modem is a gateway device that doubles as a router, then you’ll want to disable its Wi-Fi network so that it doesn’t cause interference for your mesh system’s Wi-Fi network.
Speaking of interference, it’s possible that a neighbor’s Wi-Fi network is interfering with yours. To remedy that, hop into your mesh router’s app and look for channel settings that let you tune your network to a different part of the Wi-Fi airwaves, potentially steering away from whatever channel nearby networks are using. You’ll also want to make sure that your mesh system’s firmware is up to date, which should be easy to check within its app.

